
LESSON 02Getting started
Connect your customer channels
Explore website embeds, email, messaging, and social media—and the checks to make before going live.
What you’ll take away
- Find channel connections for the correct agent.
- Choose a floating, in-page, or custom-button website embed.
- Understand provider authorization and draft-first reply controls.
- Check inbound delivery, replies, and human escalation separately.
Make it your own.
Open your agent and select Channels. Connections and deployment settings belong to that agent.
Try this in Tuolen Sign-in and the appropriate workspace access are required.Read the full transcript
Prefer to read? Here’s the narration, organized by chapter.
Start here
Your agent has a job. Now let's look at where customers can reach it. In this video, we'll walk through channels, website embeds, and the checks to make before going live.
Agent and social media
Open your agent, then choose Channels. Check the agent name first: these connections belong to this agent. We'll use the same Cedar Support demo, without connecting any real customer accounts.
For social media, select Add connection. Choose an available provider and give the connection a useful name. The account owner will need to authorize access and complete the provider's required permissions.
Start with draft replies so a teammate can review the agent's suggestions. Check public and private message settings separately. A connection form, or a coming soon label, is not proof that messages are flowing.
Choose a website embed
For your website, open Web Widget. The Deploy section gives you the embed, and the integration guide explains the choices. Use the guide for your actual website framework rather than copying an unrelated example.
Choose the embed that fits your page. The standard option adds a floating chat launcher. In Page keeps the conversation inside a page section. Custom Button lets your own button open the chat.
Before you deploy
Before deploying, allow only the exact website origins you intend to support. Don't copy the test workspace's wildcard into production. Use an agent scoped, browser publishable widget key, never an admin key or an identity signing secret.
Match your brand
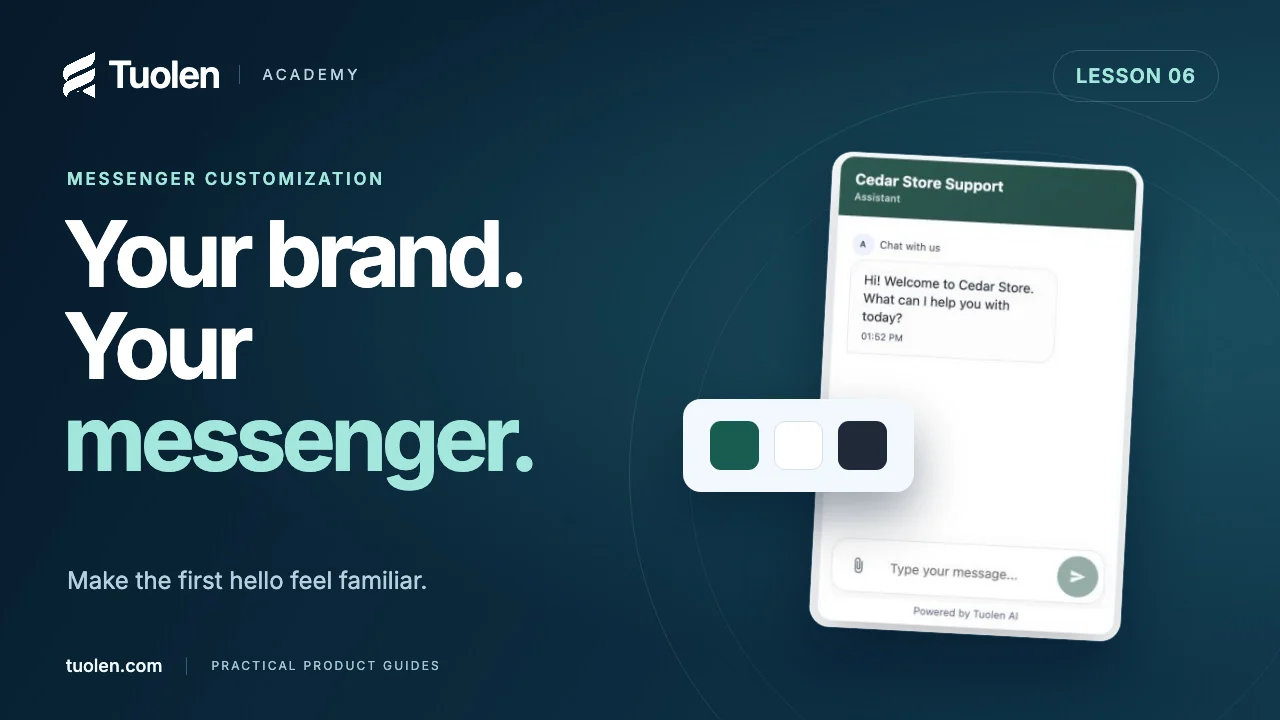
Under Messenger, open Appearance. Choose your colors, greeting, typography, and launcher placement. Add approved brand assets, then check the live preview. Save only the changes you want visitors to see.
Email and messaging
For email, choose Add Email Channel. Give the mailbox a clear name, confirm the agent, and select the authentication method your organization uses. Your mailbox administrator should complete the required credentials and delivery settings.
Keep email replies in drafts for approval while you test. Check incoming delivery as well as outgoing replies. Sending one test email doesn't prove inbound forwarding is configured. These are separate checks.
Messaging channels also have their own setup requirements. In this recording, guided setup is marked coming soon, while advanced options are available. Check current availability before planning your rollout. We haven't authorized a messaging account.
Test the full path
Before launch, use an approved test account. Confirm a message arrives, the correct agent handles it, the reply follows policy, and human escalation reaches the right team. Only then consider automatic replies.
Next: knowledge bases
That's your channel setup checklist. Next, we'll give the agent reliable information with a knowledge base. Visit Tuolen dot com.
 Duration 2:41
CustomizationLesson 06
Make Tuolen feel like your brand
Shape the welcome, suggested questions, colors, identity, and chat launcher with a careful preview-first workflow.
Watch tutorial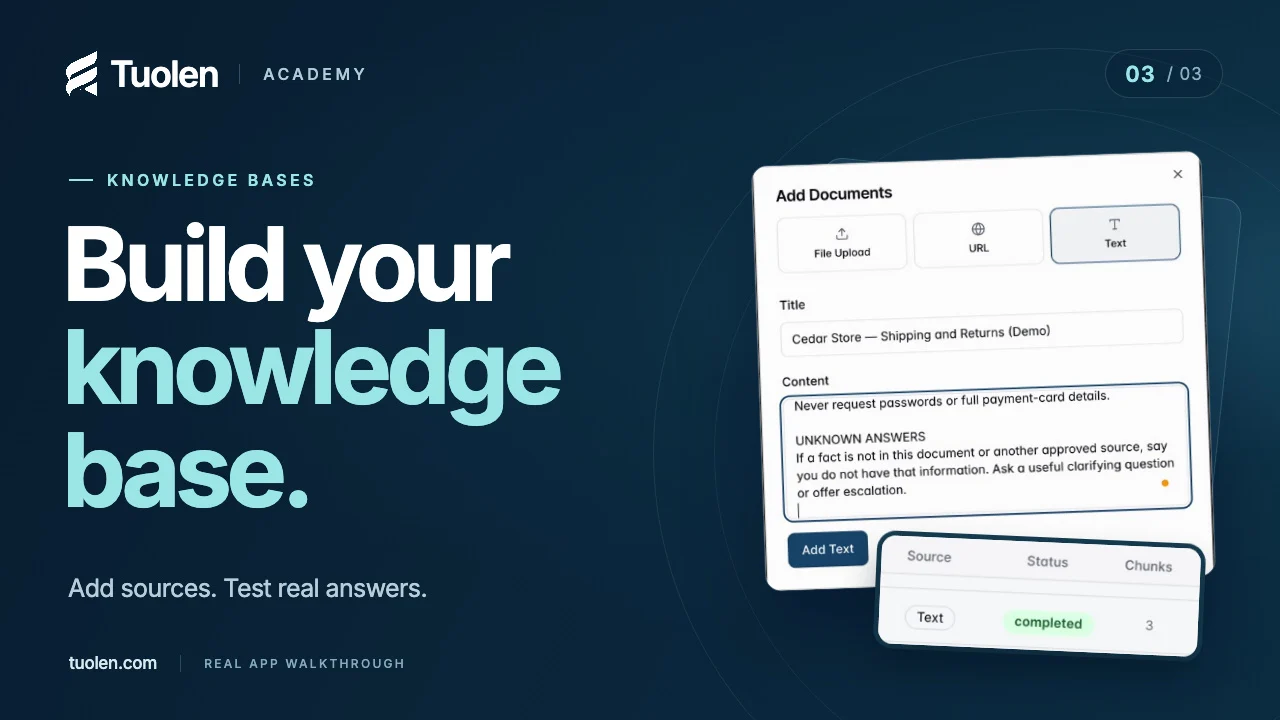 Duration 3:10
Getting startedLesson 03
Give your agent the right knowledge
Add approved business information, verify processing, and test answers against the source—not just how confident they sound.
Watch tutorial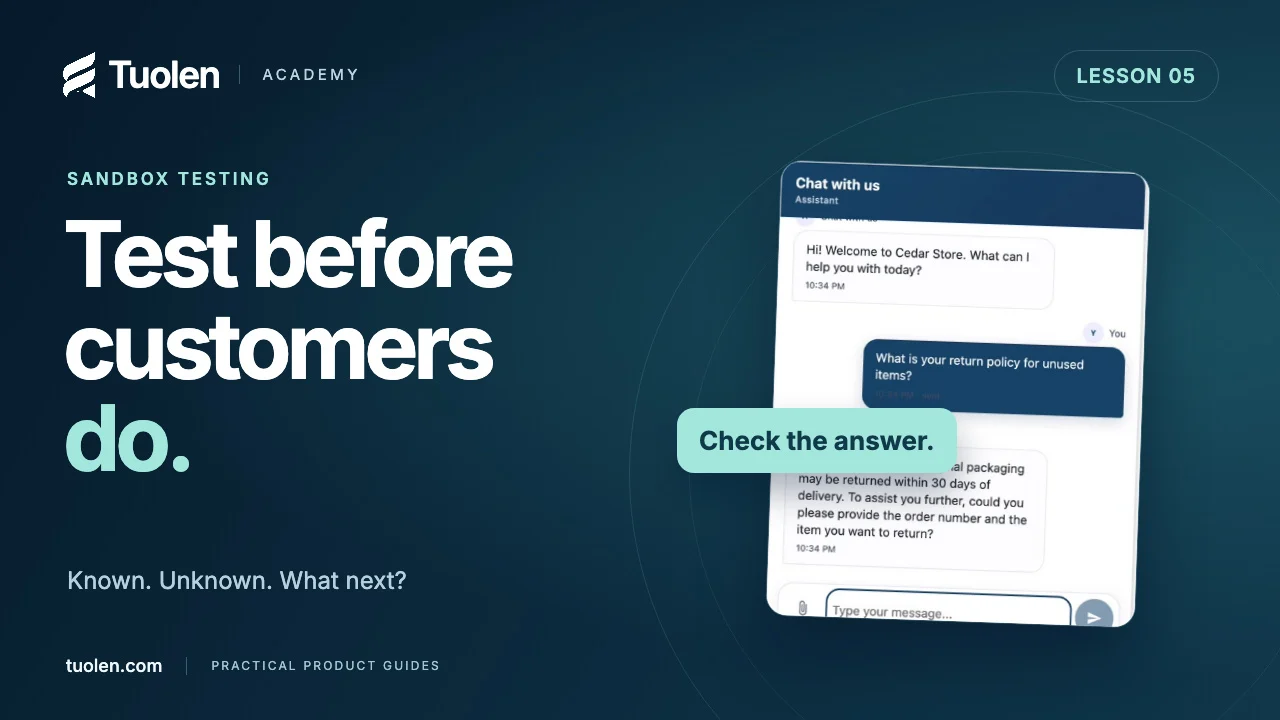 Duration 2:45
Daily workflowsLesson 05
Test your AI agent before customers do
Build a small, repeatable test set for known answers, missing knowledge, policy exceptions, and requests for a person.
Watch tutorial