
LESSON 01Getting started
Create your first AI agent
Give your agent a clear job, a helpful personality, and a plan for when a customer needs a person.
What you’ll take away
- Create and name an agent your team will recognize.
- Write a system prompt with tone, responsibilities, and clear boundaries.
- Separate the visitor welcome message from working instructions.
- Choose an escalation destination and plan a controlled handoff test.
Make it your own.
Open AI Agents, choose New Agent, then refine your instructions in Settings.
Try this in Tuolen Sign-in and the appropriate workspace access are required.Read the full transcript
Prefer to read? Here’s the narration, organized by chapter.
Start here
Let's create your first agent in Tuolen. We'll give it a clear job, a helpful personality, and a plan for when someone needs a person.
Create the agent
In AI Agents, choose New Agent. Give it a name your team will recognize, and a short description. We're using Cedar Support, a fictional shop assistant for this tutorial.
The creation form also accepts a system prompt and welcome message. Add your starting instructions, then select Create Agent. Open the new agent and choose Settings to refine them.
Write the system prompt
Think of the system prompt as the agent's working instructions. It describes who the agent is, how it should respond, and where its responsibilities stop. Your knowledge base will supply the business facts.
Start with a specific role: you are Cedar Store's customer support assistant. Then describe the tone. Be friendly, clear, and concise. Ask one clarifying question at a time. Simple instructions are easier to test.
Next, set boundaries. Use the connected knowledge base for policies. If the answer is missing, say so. Don't invent a policy or promise a refund. Never ask for passwords or full payment card details.
Welcome message
The welcome message is different: it's what a visitor actually sees. Keep it warm and short. For example: Hi! Welcome to Cedar Store. What can I help you with today?
Plan the human handoff
Now decide when a person should help. In our prompt, that's when someone asks for a teammate, has an account or payment dispute, or the agent can't resolve the request. Then open Escalation and handoff.
Choose the destination your team actually uses. The internal support queue requires the paid Support Agent workspace add-on and a configured queue. Other live support routes need their own connected services.
Creating a C R M case is not the same as connecting a live person. A case needs a configured provider. Timed case fallback is a separate, optional setting. We're leaving it off in this demo.
Save and test
Save Changes, and look for the confirmation. A saved destination doesn't prove the handoff works. Before launch, run a controlled handoff test with your support team and confirm that someone can accept and reply.
Your foundation
Your foundation is ready: a clear role, a friendly greeting, sensible boundaries, and an escalation plan. In the next video, we'll look at channels and website embeds. Visit Tuolen dot com.
 Duration 3:10
Getting startedLesson 02
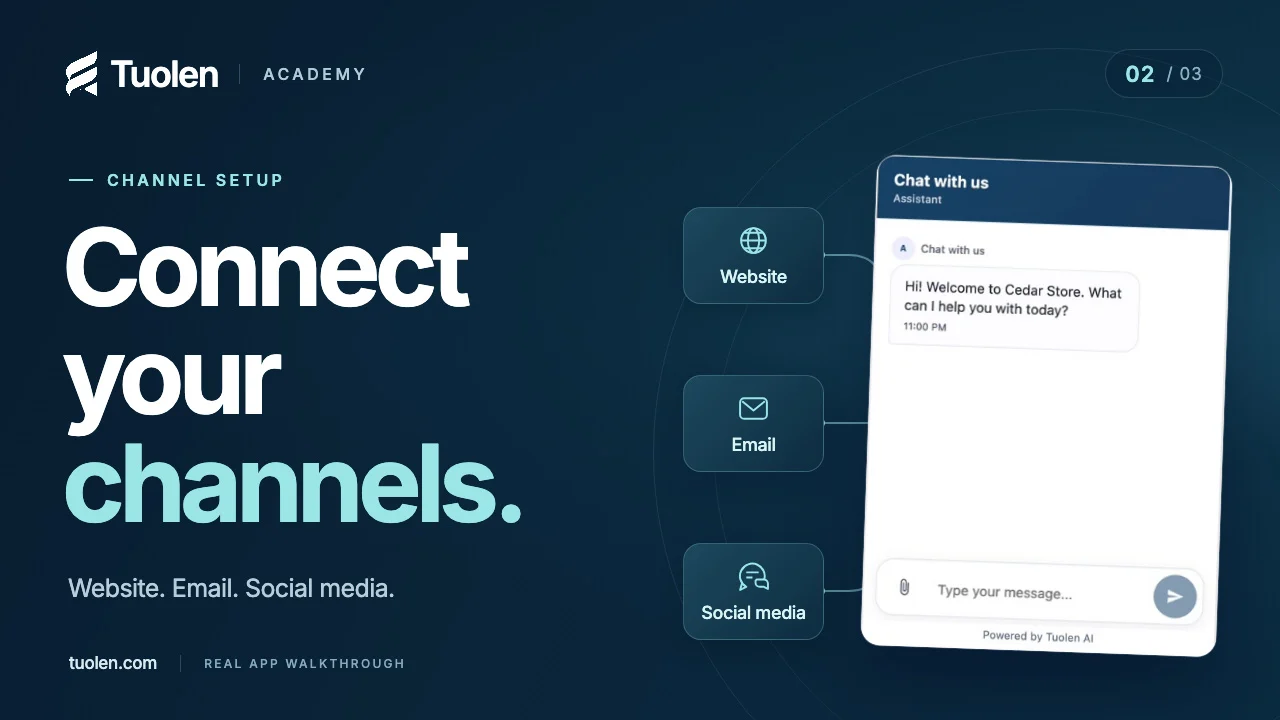
Connect your customer channels
Explore website embeds, email, messaging, and social media—and the checks to make before going live.
Watch tutorial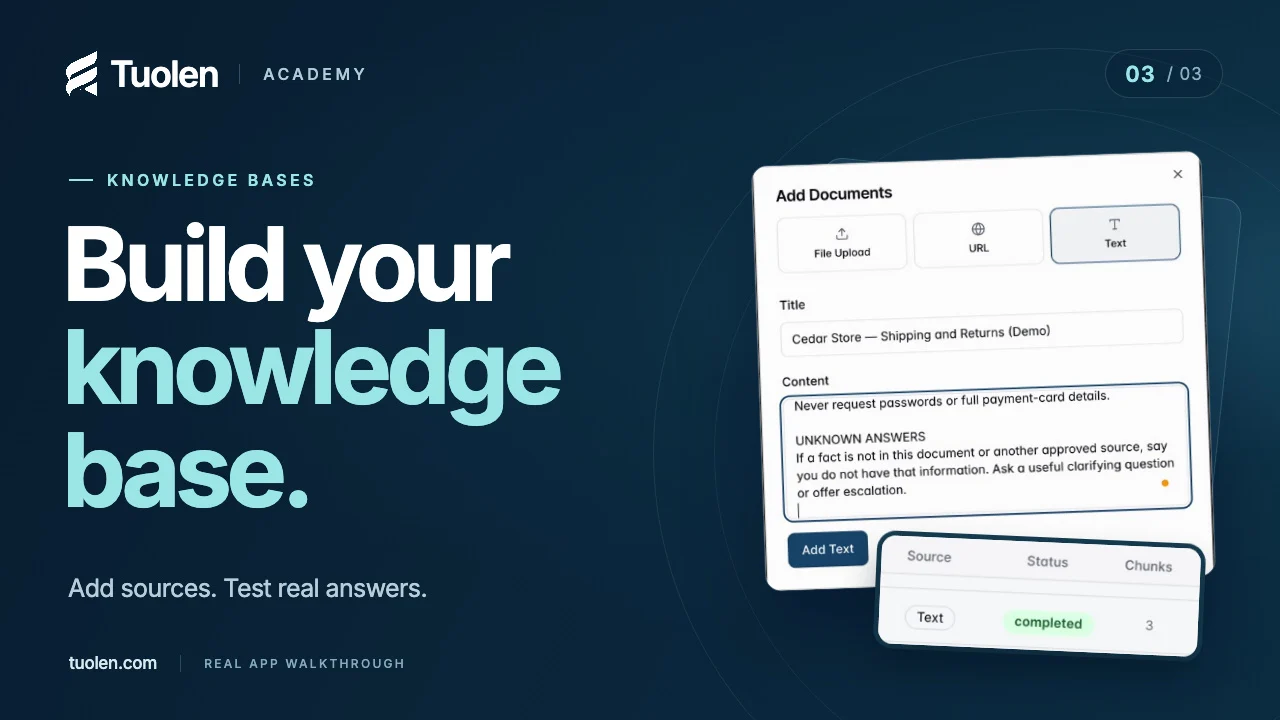 Duration 3:10
Getting startedLesson 03
Give your agent the right knowledge
Add approved business information, verify processing, and test answers against the source—not just how confident they sound.
Watch tutorial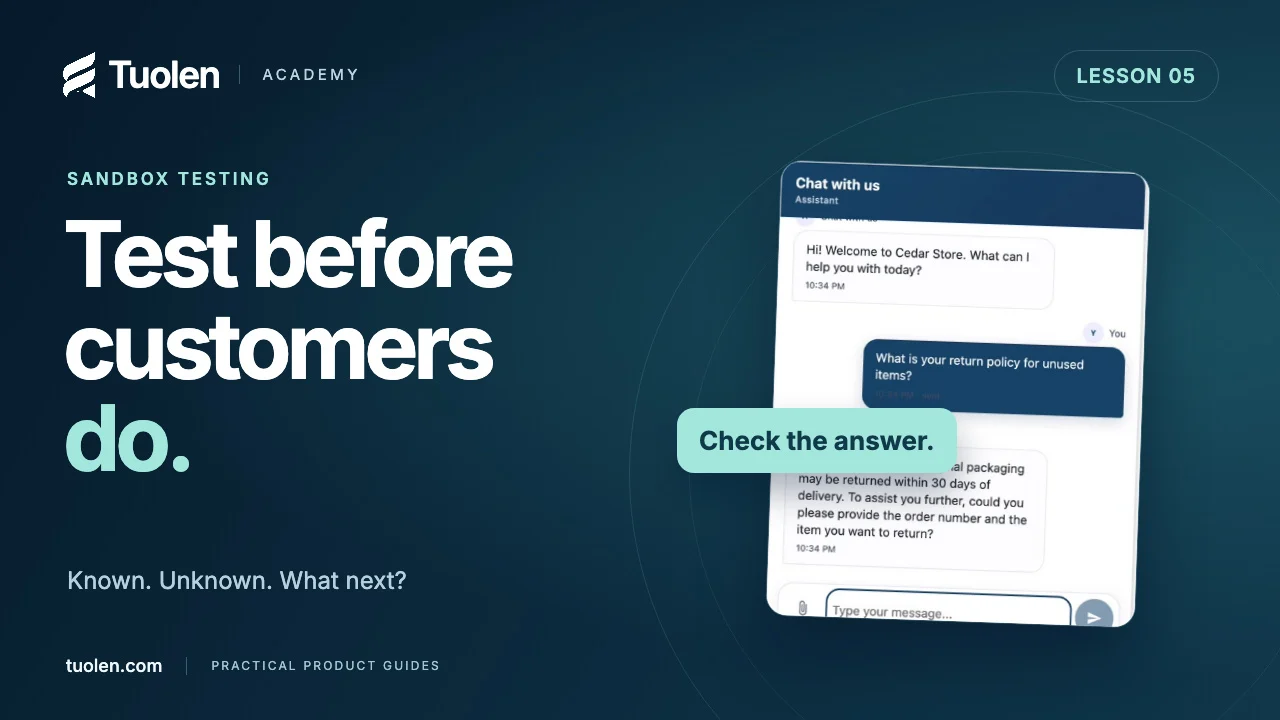 Duration 2:45
Daily workflowsLesson 05
Test your AI agent before customers do
Build a small, repeatable test set for known answers, missing knowledge, policy exceptions, and requests for a person.
Watch tutorial