
LESSON 07Developers
Connect Tuolen to your existing workflow
Understand API requests, webhook events, credential boundaries, and a safer first integration using the developer guides.
What you’ll take away
- Distinguish API requests from webhook events.
- Choose the documented credential and keep private tokens on your server.
- Understand receiver registration, signatures, and deduplication.
- Plan monitoring and reconciliation for missed deliveries.
Make it your own.
If your role permits, open Settings → API Tokens. Read Docs for the exact endpoint, credential, and webhook contract.
Try this in Tuolen Sign-in and the appropriate workspace access are required.Read the full transcript
Prefer to read? Here’s the narration, organized by chapter.
Connect the next step
Useful support shouldn't stop at the edge of your inbox. Let's look at how Tuolen's API and webhooks can fit into your existing workflow. We'll use the official developer guides and an example design, without creating keys or connecting a live system.
API requests versus webhook events
Think of the API as your server asking Tuolen for information or an action. A webhook works the other way: Tuolen tells your server that an event happened. For example, your workflow could record a resolved conversation in your own system. That's the design we're explaining, not a completed integration.
Choose the correct credential
Start in the authentication guide. Workspace operations can use a personal access token from Settings, then API Tokens, if your role allows it. Widget keys are for the widget; reporting keys stay on your server. They're not interchangeable. Check the required credential on the exact endpoint you plan to use.
Start with a read-only request
For a first request, the quick-start guide shows a read-only call that lists your agents. The token comes from your server environment, not your frontend code. Use the documented API origin and path exactly. Don't paste a real credential into a video, shared screenshot, or public example.
Register an approved webhook receiver
For webhooks, choose a public receiver you control, preferably using a secure connection, and select only the events you need. The guide shows registration through the API. Configuration requires webhook access on your plan and the right role. Store the signing secret securely when it's returned.
Understand the event payload
Read the event contract before building the next step. A conversation resolved event includes the conversation and agent identifiers. Your backend can use the relevant read API to get any additional permitted context. Send downstream systems only what they need, not an entire customer conversation by default.
Verify and deduplicate safely
Verify the webhook signature against the original request bytes before processing it. Check the timestamp, then use the verified event identifier to prevent the same delivery from repeating an action. Save the accepted event and processing job durably before acknowledging. The guide explains the verification details for your developer.
Plan for missed deliveries
One important detail: Tuolen documents a single best-effort delivery attempt, with a ten-second timeout. There are no automatic retries or replay guarantees. Build monitoring and reconciliation into your own workflow, and check delivery logs. Don't treat a webhook notification as your only record of important state.
The documented test action sends a real test event to your configured receiver, so use an approved destination and inspect the result. A successful test proves that delivery, not every future one. Start with a narrow workflow, verify it carefully, and expand only after you've seen it work.
Build one useful connection
Connect one useful event to one clear next step. Keep credentials private, verify what arrives, and plan for delivery failures. Visit Tuolen dot com, and open Docs to start building.
 Duration 2:45
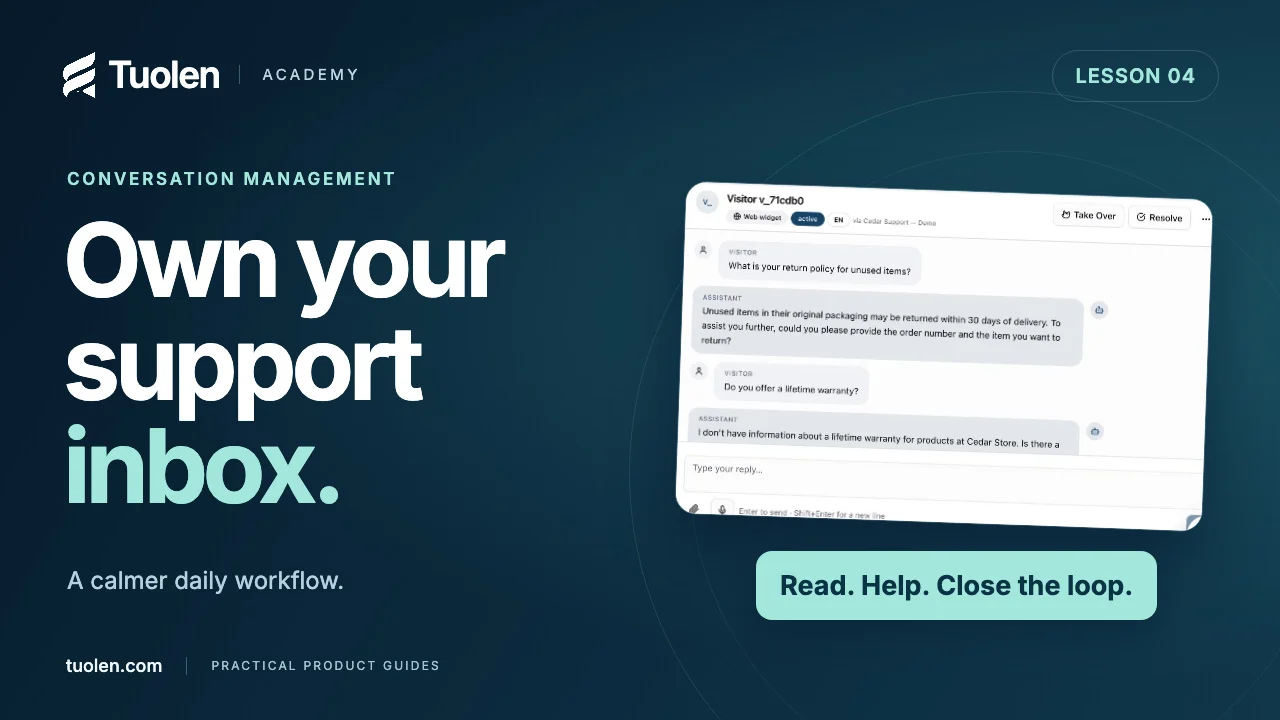
Daily workflowsLesson 04
A day in the Tuolen support inbox
Find the right conversation, understand the full history, and turn everyday support work into better answers.
Watch tutorial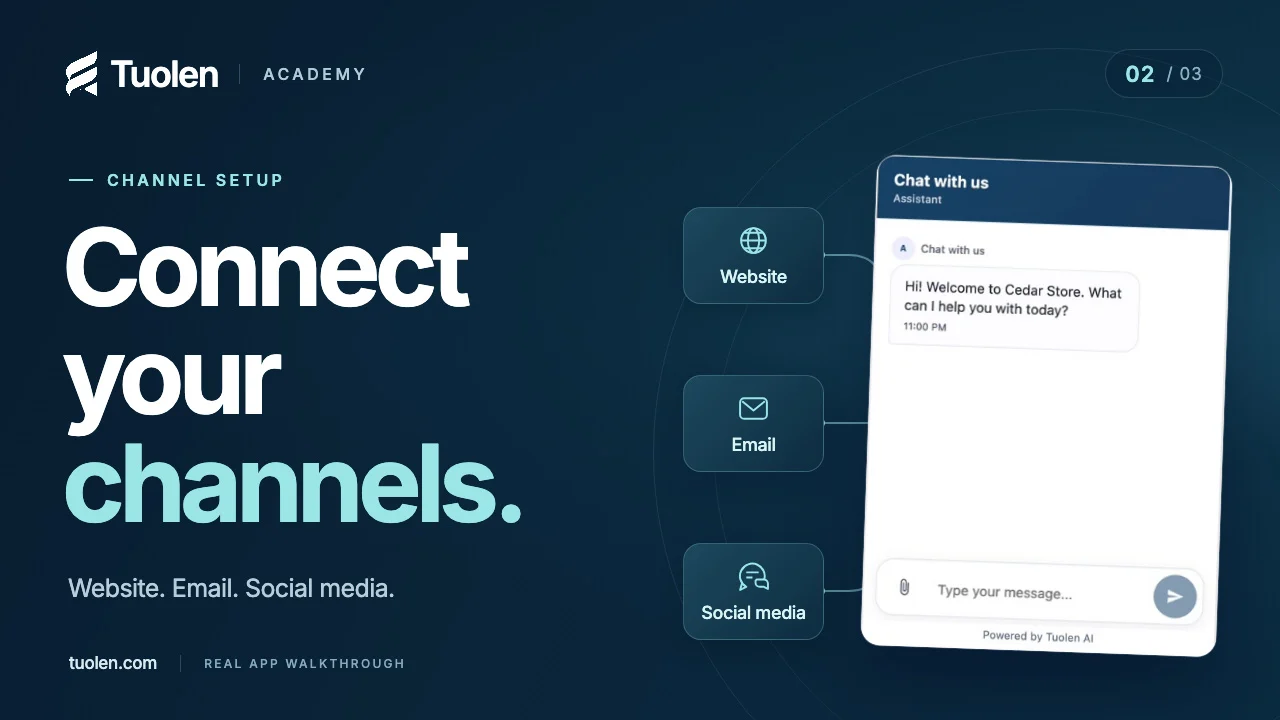 Duration 3:10
Getting startedLesson 02
Connect your customer channels
Explore website embeds, email, messaging, and social media—and the checks to make before going live.
Watch tutorial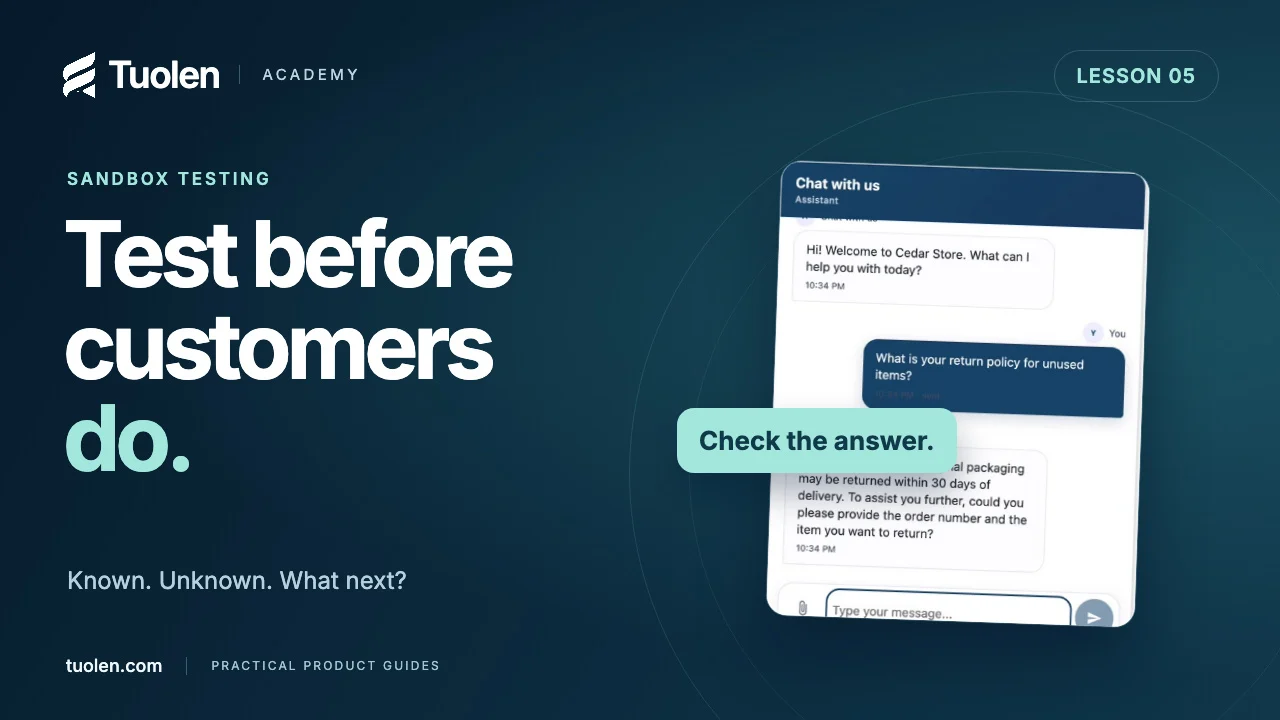 Duration 2:45
Daily workflowsLesson 05
Test your AI agent before customers do
Build a small, repeatable test set for known answers, missing knowledge, policy exceptions, and requests for a person.
Watch tutorial